
This section is intended for people responsible for providing support to TrustBuilder users within a company that is a TrustBuilder customer. e.g. a help desk agent
Access user profile details
To access a user profile, logon to the admin portal and go to User Management tab > Users. The list of TrustBuilder users and their common attributes are displayed. Click on Add Filter to make a specific search.
From the user list, you can read the following details about user profiles:
-
Email → the email address associated to the user profile
-
Username → the defined username for the user profile
-
Id → the TrustBuilder user identifier automatically generated at user profile creation
-
Id at customer → the identifier used for this user on the company side
-
Phone → the phone number associated to the user profile
-
Date created → the date of the user profile creation
-
Date updated→ the date of the user profile last update
Reset a user password
You can force the reset of a user password if requested. You can set a password for a user that may be temporary (recommended).
Password format
Password can be any combination of letters (upper and lower case), numbers, and symbols (ASCII-standard characters only).
-
Go to User Management tab > Users to access the user profiles list.
-
Click on Edit for the relevant user profiles.
-
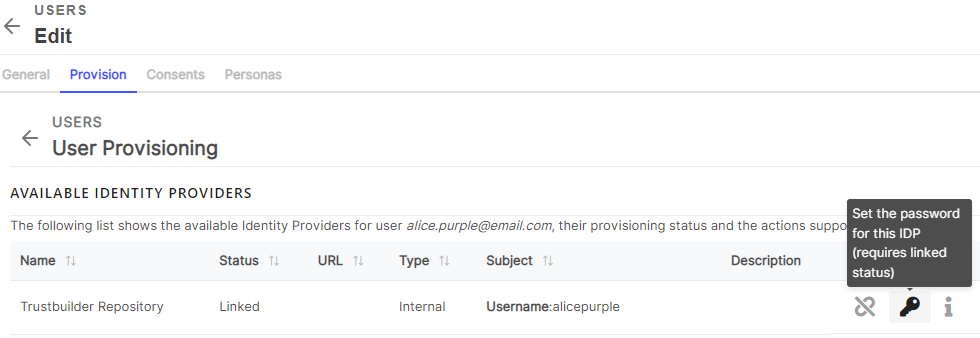
Go to Provision tab. The available Identity Providers for the user are listed.
-
Click on the key icon on the TrustBuilder Repository row.
-
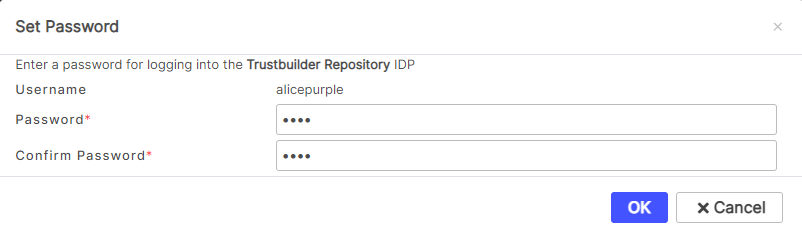
Set a new password for the user and click on OK. This password is temporary: it will help the user to reset its own password from the Self Service portal.
-
Provide the new temporary password to the user in a secure way.
-
The user can login to the Self-Service portal using the temporary password. Guide the user to reset its password from the Self-Service portal.
Link a persona to a User Profile
You may have to link a persona to a User profile if requested.
-
Go to User Management tab > Users to access the user profiles list.
-
Click on Edit for the relevant user profiles.
-
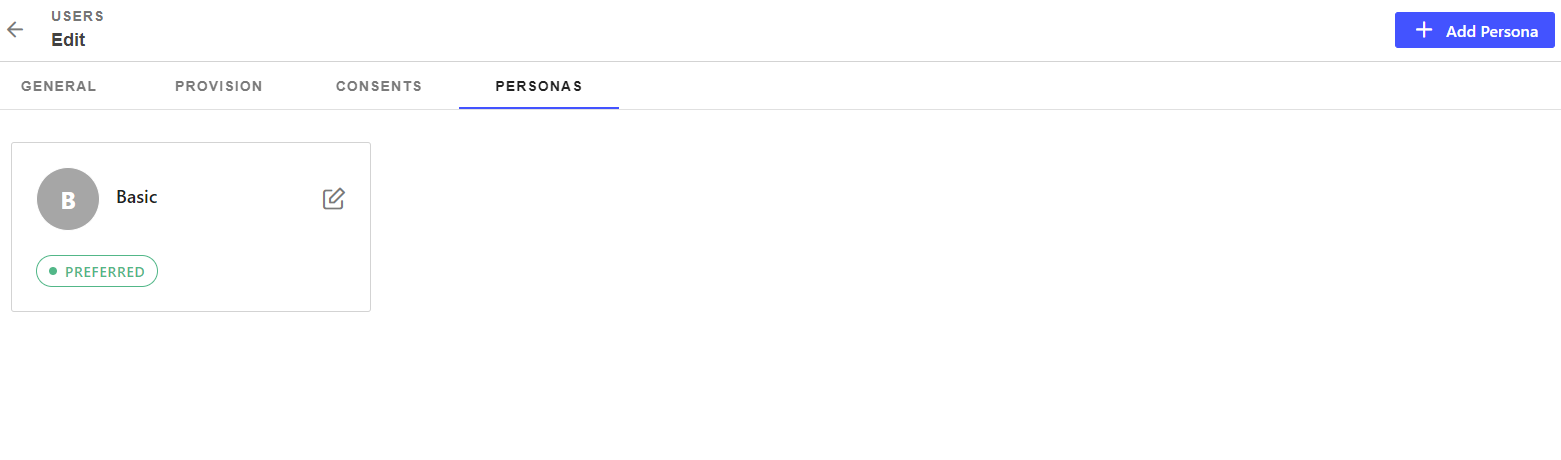
Go to Personas tab and click on + Add Persona.
-
The list of defined personas is display. Select the missing persona for the user and click on Select.
-
Configure as requested:
-
Set the persona as the default persona if requested.
-
Configure the Persona details according to the user information.
-
-
Click on Save. The persona should appear in the personas list for the current user.
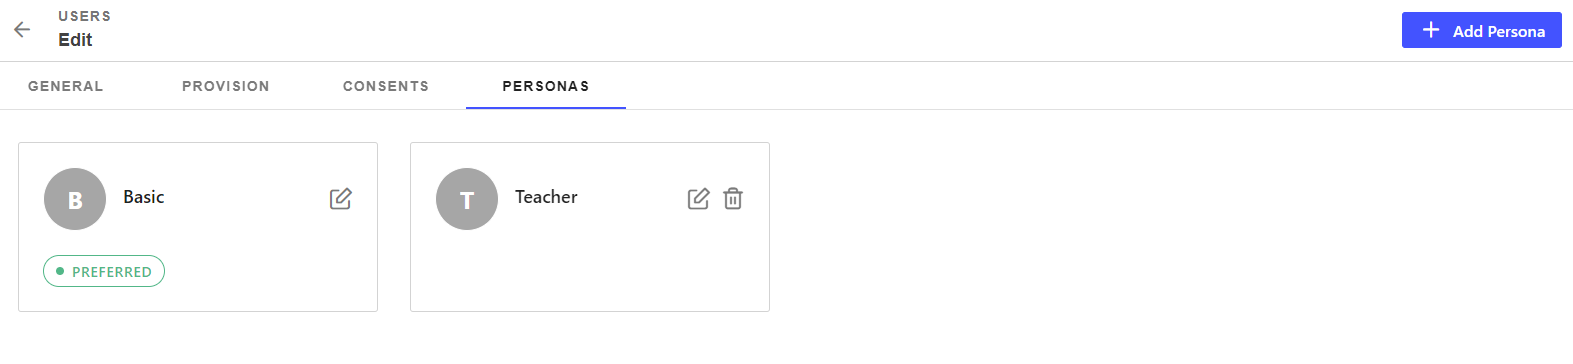
The persona is successfully linked to the user profile.